Welcome back hackers, today we’re going to be visiting a subject that many of you may be familiar with, building a lab. Specifically, building a virtual lab. Normally you would use something like Oracle’s VirtualBox or VMWare Player, but today we’re going to take it a step further and use VMWare’s ESXi. ESXi is a hypervisor which comes in the form of a server operating system. By using ESXi to create a server dedicated to running VMs, we can make a hacking lab which can easily manage and deploy VMs.
We’ll start by making a bootable USB stick of the ESXi installer, then we’ll install ESXi, and finally we’ll create a VM of a CTF from VulnHub. So, let’s get started.
Note: ESXi is a server OS, so you’ll need a spare system strong enough to run ESXi and the VMs you need.
Step 1: Obtaining the ESXi Installer Image
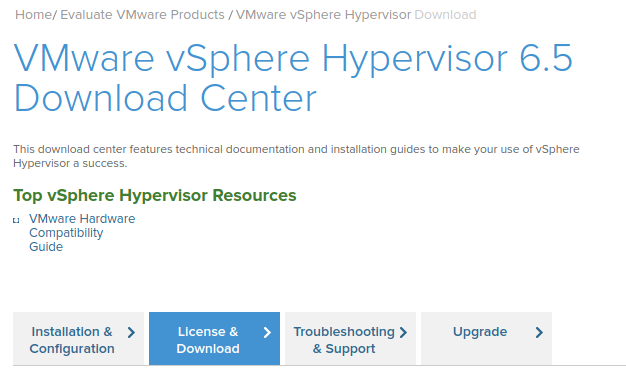
First, we need to actually download the ESXi image. For that, you’ll need to create an account at VMWare:

Once you’ve created and logged into your account, you can download the ESXi image. Make sure you take a look at the SHA256 hash while you’re there, we’re going to verify our download once it’s done:
Now that we have our ESXi image downloaded, we need to verify it. This will insure that our file hasn’t been modified or corrupted. To do this we’re going to use a Python script that I wrote. Use the curl command to download the script (you may need to use dos2unix to convert it to the correct format):

This script will make a hash out of a file, which we can use in conjunction with the hash given at the download to verify that our file is good:

Upon inspection we can conclude that our file is legit. Now that we’ve downloaded and verified our file, we can move on to making a bootable USB out of it.
Step 2: Create a Bootable USB with the Image
In order to make the bootable USB there’s quite a couple things we need to do. The first of which is to identify our USB drive. We can use fdisk for this:
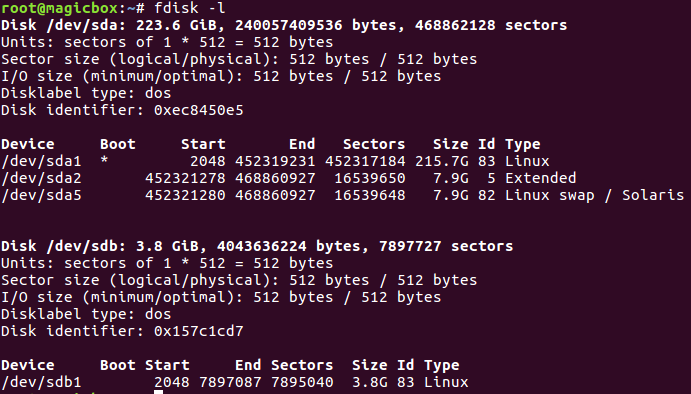
My USB drive is under /dev/sdb, but yours may be different. Once you know where your drive is, you should follow the documentation to set up the structure and move the image files. Once you’ve completed this step, boot up your spare system and change the BIOS options to boot from the USB, once it’s booted, follow the prompts to set up ESXi as you need it. Once the installation has completed, you should be able to boot the system and connect to the ESXi interface through a browser over the network. This is the interface we’ll use to deploy and manage our VMs.
Step 3: Deploy VMs
Now that we have this dedicated virtualization server set up, we can run the VMs we need! As an example, I’ll be setting up a boot2root from VulnHub. The ESXi interface should look something like this:
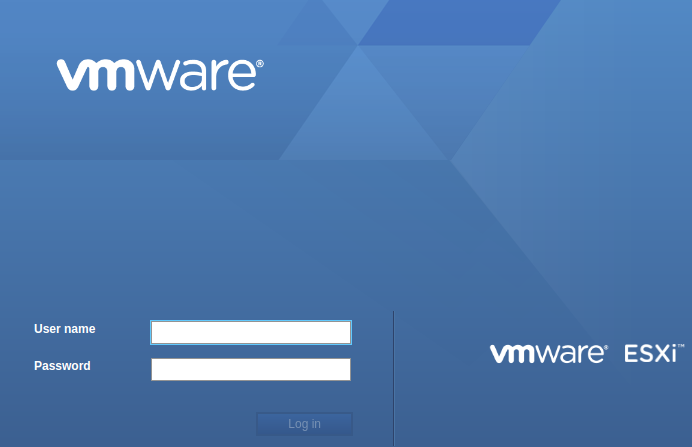
Log into ESXi with the credentials you set up at install. Now that we have control through this web interface, we can upload our VM image:
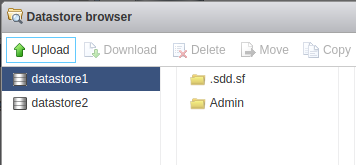
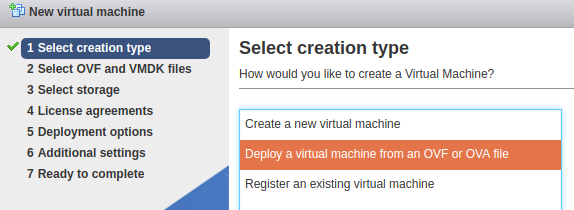
Once the image finishes uploading, we can create VM out of it:
Once you get your VM options laid out and finished, you should be able to boot into your newly created VM!
This software allows us to create lab environments that help us to practice our skills in a safe, legal environment. There’s little risk since all machines are created and maintained in a controlled environment. A large benefit of this is that you can implement it as a server, which allows you to control it over the network, allowing for more flexible means of management.
It’s important that you familiarize yourself with virtualization technology, as we’ll be using it quite frequently here, not only for CTFs, but for virtualizing entire networks to attack.


0 comments:
Post a Comment